ProViews
Why choose a pivot door?
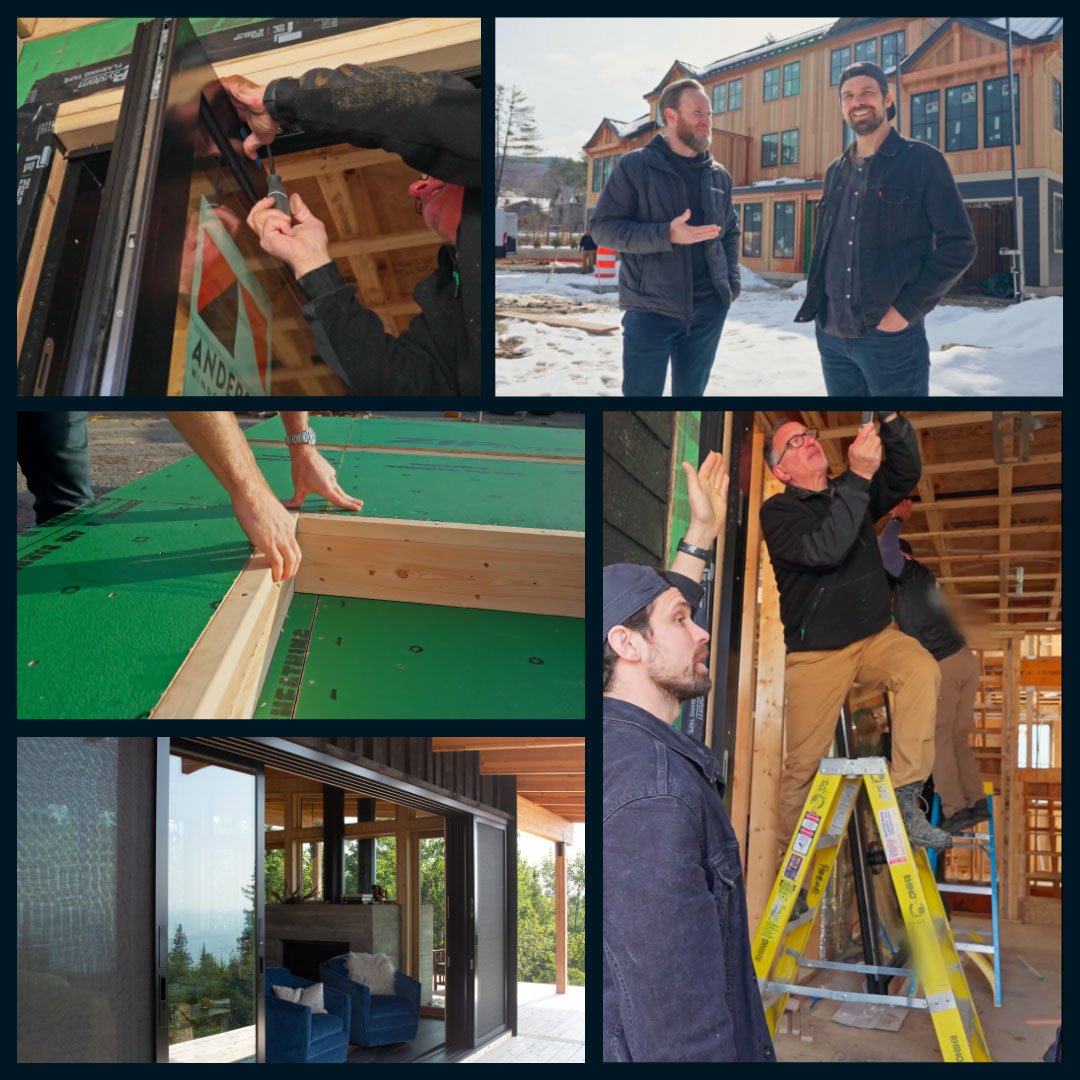
How to create a luxurious feeling from the first moment you step inside a home? With a pivot door, of course. Here to show you its features, functionalities, and the design details that ease installation are the Modern Craftsman podcasters. In this video, Tyler Grace and Nick Schiffer give a closeup look at our Pivot Door, which is the finishing touch on a condo project by Mullen Building.
The takeaway: A pivot door operates on a pivot box, rather than on hinges. This allows for larger sizes and functionality that’s more like that of a commercial door, as Grace notes. This means it has a smooth and easy operation to match its showstopping good looks, and that’s not all it has going for it.
Keep reading for details on specifying this door, installation tips, and links to more resources.
Beauty to match your design
The doors in this project have a contemporary feel with a large expanse of glass and a nearly flush installation that almost creates a floating effect. But you can also customize our Pivot Doors to match your project’s design, since they come with an array of options. Here’s what you should know:
- Sizing: Our Pivot Doors can be up to 16 feet tall with just a single piece of glass.
- Materials: Choose from an all-wood door, all-aluminum door, or aluminum-clad wood door.
- Finishes: More than 50 exteriors colors are available along with custom colors. Other options include anodized aluminum and a variety of wood species.
- Hardware: Made to match the luxurious feel of these doors and create effortless operation, there are an array of hardware styles and finishes available, including designer hardware from FSB®.
- Configurations: Single and double Pivot Doors are available and can include integrated sidelights. In addition, you can also create a pivot wall with multiple doors joined together.
Find more selection details via the link below.
Performance you can trust
In Conway, New Hampshire, where this project is being built, doors need to keep out rain and snow, that’s why they chose a high-performance water management flush sill. Whatever your local conditions, our Pivot Doors can perform in a way that meets your needs. Here’s what you should know:
- Sills: Various sill options are available, including those that help units certify to PG60,* those designed to meet ADA/FFHA requirements, those that have a high-performance flush sill with water management, and more.
- Glass: All of our low-emissivity (Low-E) glass coatings are available. It’s also possible to get triple-pane glass with up to two Low-E coatings added.
- Coastal performance: Our Stormwatch® protection is available as an option, as is impact-resistant glass and monolithic laminated glass.
More details on performance are available below.
*Performance Grade (PG) rating will depend on the exact size and configuration chosen.
Design to ease your install
There are a few features designed into our Pivot Doors that make for an easier installation. Here's what you should know:
- Screws at the top of the frame making pluming the pivot point easy. Adjustments are made at the top of the frame where two screws can be used to move the pin that connects with the door panel. One screw moves the pin up and down and a second screw moves it from right to left. One tip shared in the video was lining up a laser with the bottom pin so it’s easy to see where the top pin should go. And don’t forget to retract that top pin before installing the panel — this gets it out of the way during that critical moment.
- Jacking screws take the place of shims to ease proper frame installation. When dry fitting the frame into the rough opening, the jacking screws are extended in place. Then, #10 screws are threaded into the jacking screws and embedded 1½ inches into the rough opening. And don’t forget that the closer box has built-in leveling screws and a bubble level to aid in installation accuracy.
- The closer box makes it easy to adjust for optimal operation. The closer box allows for independent adjustment of both speed and power, so you can achieve the correct closing speed and latch. We recommend 5 to 7 seconds to go from a 90° open position to closed. After adjusting for speed, check the latch. The side adjustment gears on the closer can help the panel latch, as opposed to changing speed and power. Adjust ¼ turn at a time, and keep in mind that if large temperature changes occur, the closer may need to be readjusted for speed and power.
A couple of other installation tips to keep in mind include:
- Adding a strip of painter’s tape at the top and bottom of the panel and marking on the tape exactly where the pin will insert makes it easier to install the panel into the frame.
- The screws that control the top pin can be adjusted left or right, post construction. So, if you run into any weatherstripping or latching issues once the dust has settled, it’s easy to adjust for perfect operation.
- It’s essential to know your finished floor height before installation so your threshold lines up with it correctly.
Ready for the nitty-gritty details?
About the Modern Craftsman
Grace and Schiffer are the voices behind the Modern Craftsman, which is a podcast and community network dedicated to promoting excellence, education, knowledge, and respect in the building industry. With their audience of trade professionals, they discuss all aspects of life within the industry and life itself — from mental health to leadership and everything in between. They pride themselves on working with brands and people who strive to make the industry better and advocate for a better life in the trades.

Meet Tyler Grace
Owner of TRG Home Concepts in Medford, NJ, Tyler is an interior remodeling contractor focusing primarily on kitchens, bathrooms, and finish carpentry. His mission is to deliver a quality product to his clients while creating and maintaining value through efficiency and judicious project coordination.

Meet Nick Schiffer
Owner of NS Builders in Boston, MA, Nick leads a team of experienced carpenters, project managers, cabinet makers, and apprentices. He started his business in 2014 and has turned it into one of Boston's most sought-after building companies. Constantly challenging himself and his team, there’s nothing standard about their approach.


Meet Doug Mullen
Doug Mullen was born and raised on Cape Cod and fell in love with construction as a child. He established Mullen Building in 2003 and is a hands-on owner/operator with over 20 years of experience. Mullen Building specializes in custom home building from the ground up, challenging remodels, and improving residential properties — where details matter.

More about this project