BY RANDY WILLIAMS
5 tips for successfully installing windows
In his nearly 30 years in the construction industry, Randy Williams has seen a lot of window installations — both good ones and bad ones. In this article, he’s sharing his top tips for avoiding common mistakes and installing windows successfully.
I write a lot about the four control layers every building envelope has. There is an order of importance:
- Water control layer
- Air control layer
- Vapor control layer
- Thermal control layer
A window needs to be able to perform the functions of all four control layers in order to be successful. Window manufacturers design their units to be effective at controlling the movement of water, air, vapor, and heat through good product design and manufacturing techniques, but where they lose control is in the installation of the window. Often the success or failure of a window will come down to the installation, but there are ways to avoid some of the window installation failures I’ve come across.
1. Where possible, design the building to limit a window’s contact with water
If you design a roof with large overhangs, or use an awning above a window, the part of the window that’s most exposed, the window head, doesn’t get wet. If it doesn’t get wet, it can’t leak water, which is one big problem solved. Another common problem is when an adjacent roof overhang is directly above a window. This is where a kickout flashing can be a good solution. A kickout flashing is a manufactured or site-built way to divert water away from the wall surfaces (and any building component below) where the slope of the roofline meets an exterior wall.

A design that incorporates an overhang above a window can help protect the most exposed part of the window, the window head, from water.
2. Always use a drip cap
A missing window head flashing is one of the most overlooked details I see. The idea is to keep water moving so it can’t find a place to sit. If it sits, there’s a chance it can find a hole and end up inside the building. A drip cap with a slight pitch towards the front of the window is effective at keeping water moving.
3. Shingle lap to direct water down and out
We’ve been good at keeping roofs from leaking for a long time. We do this by lapping roofing materials over the lower courses — simple and effective. This works around windows and doors as well. Lap the courses of water resistive barrier (WRB) above and over the courses below, and lap over the top of the window. Nowadays, there are some newer sheeting products with integrated WRB that rely on tapes to prevent water from ending up someplace it shouldn’t. In those cases, the key is to follow the sheeting manufacturer’s instructions — i.e., roll the tape!

Use the lapping technique around windows and doors to help keep water out.
4. Use the right tape or sealant for the right job
Both the sealants that come out of caulking tubes and the adhesive part of tapes have limitations as to what they will effectively adhere to. Most stick to a lot of different surfaces, but none stick to everything. Be sure to read the technical data sheets available from manufacturers. They will usually say what they are and are not compatible with. Andersen has its own installation materials that are compatible with its products and common building substrates.
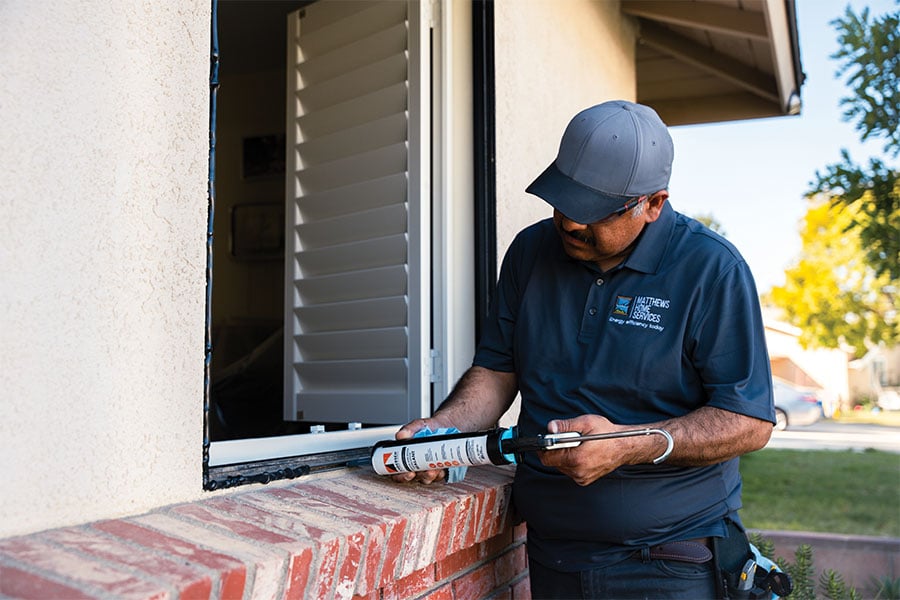
Andersen’s installation materials, like caulking and adhesive tapes, are compatible with Andersen products.
5. Sometimes it’s not what you are sealing out, but what you are sealing in
Sealants and tapes are good, until they aren’t. Here’s an example: You’ve just installed some sort of clapboard cladding around the windows. You want the installation to look finished, so you seal between the window frame and cladding. Did you apply sealant to the window head, the space between the flashing and cladding? If you did, you just potentially trapped any water that might end up behind the cladding at the top of the window. Again, you want to follow the manufacturer’s instructions. In this case, the cladding manufacturer’s instructions would tell you if you should leave the space above a window open for drainage.
In closing, my best advice is to read the manufacturers’ instructions — all of them. The window manufacturer’s instructions, the cladding manufacturer's instructions, and don’t forget about instructions from manufacturers of WRB, tape, and sealants. Read and understand all of them, and in my experience, your chances of having a successful and long-lasting window installation improve.
Meet Randy Williams
Randy Williams started his construction career in the mid-1990s installing electrical, plumbing, and HVAC systems with his brother. In the early 2000s, his family branched into building and renovating homes. By 2005, Randy was working full time as a general contractor. He furthered his education in 2009 becoming an energy auditor. Today, Randy works with other contractors, homeowners, and utilities performing energy audits, building diagnostics, energy design, and code compliant testing, and assisting in the design of energy-efficient homes. He is also a contributing author to several trade publications and occasionally teaches home diagnostic testing and building science topics at different trade shows and training events.
